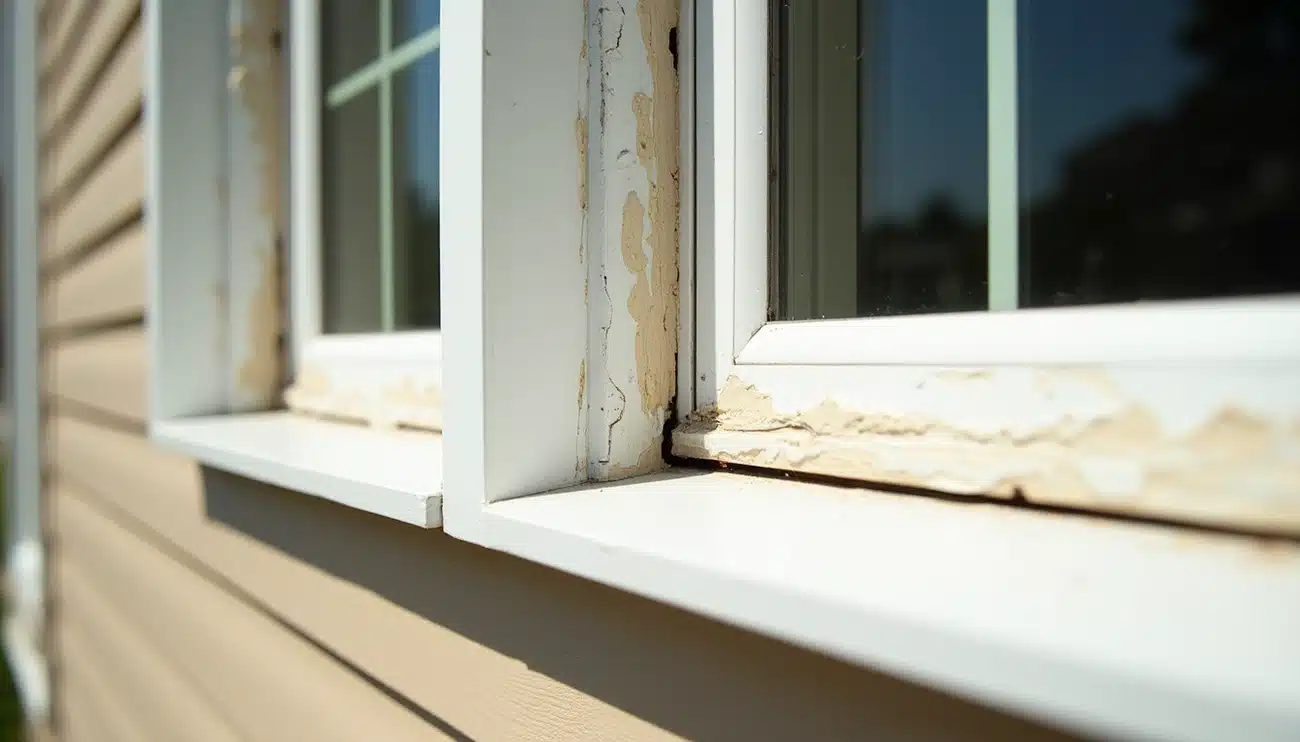
Proper sealing around windows and doors is one of the most important steps in protecting a building from water intrusion, air leakage, and energy loss. Even the highest-performing window or door system can fail if the surrounding joints aren’t sealed correctly. Unfortunately, installation errors are common and they often show up months or even years after the job is complete.
Below are the most frequent sealant mistakes professionals encounter in window and door installation, along with practical guidance to help avoid callbacks and long-term failures.
1. Applying Sealant to Dirty or Wet Surfaces
Sealants bond best to clean, dry, and stable substrates. Dust, manufacturing oils, moisture, or jobsite debris create a barrier that prevents full adhesion.
Why it fails:
-
Reduced adhesion
-
Early bond break
-
Mildew growth under the bead
-
Water penetration behind trim or flashing
How to avoid it:
-
Clean all substrates with an appropriate solvent or primer.
-
Ensure surfaces are completely dry before sealing.
-
Wipe factory-finished frames to remove protective oils.
2. Improper Joint Size or Shape
Many installers simply “fill the gap,” but joint design is critical. A sealant bead must be sized for movement, and shaped to flex without tearing.
Common errors:
-
Joints too deep (leading to 3-point adhesion)
-
Joints too narrow (restricting movement)
-
No backer rod used
-
Overfilled joints that can’t stretch properly
How to avoid it:
-
Follow the “2:1 width-to-depth” rule for most sealants.
-
Always use a backer rod to control depth.
-
Allow room for expansion and contraction.
3. Skipping the Backer Rod
Backer rod is not optional. It’s essential for correct joint movement and proper sealant performance.
Why it fails without one:
-
Creates 3-point adhesion, causing bond failure
-
Inconsistent bead depth
-
Reduced movement capability
-
Increased cracking
Best practice: Use closed-cell backer rod sized 25–50% larger than the joint width to ensure a proper fit.
4. Using the Wrong Sealant for the Substrate
Not all sealants are compatible with vinyl, aluminum, fiberglass, or composite window systems. Likewise, exterior performance demands vary by climate.
Examples of mismatches:
-
Standard acrylic caulk used outdoors
-
Non-UV-resistant sealants used on exposed frames
-
Acetoxy silicones applied to sensitive metals
-
Non-paintable sealants used where trim will be painted
How to avoid it:
-
Confirm substrate compatibility with a manufacturer.
-
For exterior joints, choose a high-performance hybrid or silicone.
-
For paintable applications, select a paintable hybrid polymer.
5. Applying Sealant in Extreme Temperatures
Sealants behave differently in hot vs. cold conditions. Application outside the recommended temperature range can lead to poor adhesion and improper cure.
Cold weather:
-
Thick, difficult-to-tool bead
-
Slow or incomplete curing
-
Adhesion loss on frosty or icy substrates
Hot weather:
-
Sealant becomes runny or slumps
-
Flash curing on the surface, trapping uncured material inside
-
Poor bonding on overheated metal frames
Best practice:
Check the temperature range in the Technical Data Sheet and use cold-weather or warm-weather formulas when needed.
6. Not Allowing Sealant to Cure Before Exposure
Premature exposure to rain, freeze-thaw cycles, or aggressive cleaning can compromise the seal.
Common issues:
-
Wash-out from early rain
-
Surface wrinkling or discoloration
-
Movement cracks before the sealant has developed strength
How to avoid it:
-
Review cure rates carefully. Some hybrids skin in minutes but need 24–48 hours for full cure.
-
Protect newly installed joints from weather when possible.
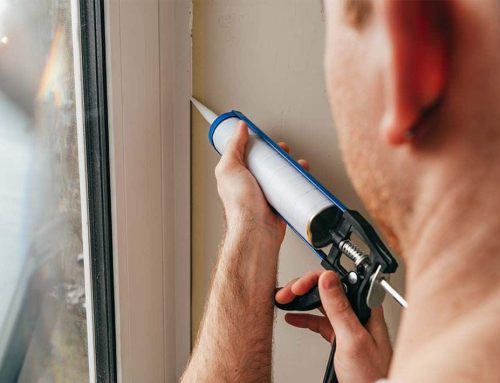
7. Poor Tooling or No Tooling at All
Tooling isn’t just cosmetic, it makes the bead functional.
Why tooling matters:
-
Forces sealant into the joint for full contact
-
Removes air pockets
-
Shapes the bead for optimized movement
-
Improves adhesion and longevity
Best practice: Tool the bead immediately after application using light pressure and a consistent motion.
8. Relying on a Single Bead Where Multiple Beads Are Needed
Some window and door assemblies require interior and exterior seals, each serving a unique purpose.
Risks of using only one bead:
-
Missed air barrier
-
Poor moisture protection
-
Increased condensation / thermal loss
Pro tip: Consult the manufacturer’s installation instructions to determine whether dual sealing is required.
Final Thoughts
Window and door failures are expensive and most of them are preventable. The right sealant, applied correctly, ensures long-term durability, better energy efficiency, and strong protection against water intrusion.
Installing teams who master substrate prep, proper joint design, correct sealant selection, and disciplined application practices dramatically reduce the risk of callbacks and deliver stronger, longer-lasting installations.
Ready to learn more? Explore our full line of professional-grade sealants and adhesives at PremierBuildingSolutions.net.


Leave A Comment